In the realm of cosmetics, it is safe to say that best lighting is essential, not just important. For the professionals and for the amateurs in makeup, lighting can either enhance the look or ruin it altogether.
Therefore, let us now put our heads under the lamp of makeup and see how one can light his or her way to that spotless, unblemished and ready for the camera skin.
Why Lighting is Most Important in the Process of Makeup Application
Have you ever done your makeup in poorly lighted room, only to go outside and feel like a completely different person? Well, you are in good company.
Good lighting is the best kept secret behind every well polished makeup application, and here is the explanation:
Color Accuracy: With the right type of light, all colors come out as they are, thus the chances of discrepancies in the color of foundation and skin are reduced significantly.
Precision: It assists in completing tasks as small as the blending of the eye shadow or sticking the false lashes.
The control of the hand and foreseeing the outcome makes one at ease with application of makeup.
‘’ Lighting is to make up artist what location is to the realtor. It is everything.’’ Lisa Eldridge, a celebrity makeup artist.
Natural Light: The Best Practice (The Most Suitable Light)
Ask any makeup artist and he will say, There is no lighting system better than sunlight.’ This is the reason why such lighting is highly desirable:
Why Makeup Artists Swear by Natural Light
- Even Distribution: Natural light spreads evenly, minimizing harsh shadows.
- True Color Representation: It shows colors as they truly are, without artificial tints.
- Soft and Flattering: Natural light tends to be forgiving, smoothing out imperfections.
Best Times of Day for Natural Light Makeup Application
Dawn: Gentle, filtered sunlight that is perfect for a soft look.
Mid Morning to Early Afternoon: Clear Bright Light Perfect for Precision Detail.
Do Not Strive for Midday Sun: It is harsh and creates deep shadows.
How to Place Yourself in Natural Light
It is best to sit in front of the window to avoid any shadows.
If possible, keep the sun out of your eyes so that there is no need to squint or create unpleasant shadows.
If one side of your face is left in the shadows, turn a lighted white sheet toward it to fill in the gap.
Artificial Lighting Options
Do not lose hope if there is no such natural lighting.
There are excellent artificial lighting options that can give you stellar results.
LED Lights: The Game Changer in Makeup Lighting
LED lights have revolutionized makeup lighting. Here’s why they’re so popular:
Color Temperature and Its Importance
Color temperature is measured in Kelvins (K). For makeup, aim for:
| Color Temperature | Effect | Best For |
| 2700K – 3000K | Warm white | Evening makeup |
| 4000K – 5000K | Cool white | Daytime looks |
Top LED Lighting Options for Makeup Application
- LED Strip Lights: Flexible and easy to install around mirrors.
- LED Panels: Provide broad, even illumination.
- LED Bulbs: Can be used in existing fixtures for an easy upgrade.
Ring Lights: Not Just for Influencers
Ring lights have become a makeup staple, and for good reason:
- They provide even, shadow free illumination.
- The circular shape mimics natural light around the eyes.
- Many come with adjustable color temperatures.
Choosing the Right Size and Color Temperature:
- 10-12 inch rings are ideal for makeup application.
- Consider seeking alternatives that allow flexibility on the settings for the color temperatures’ range which is between 3000K-6500K.Vanity Mirrors with integrated light fittings
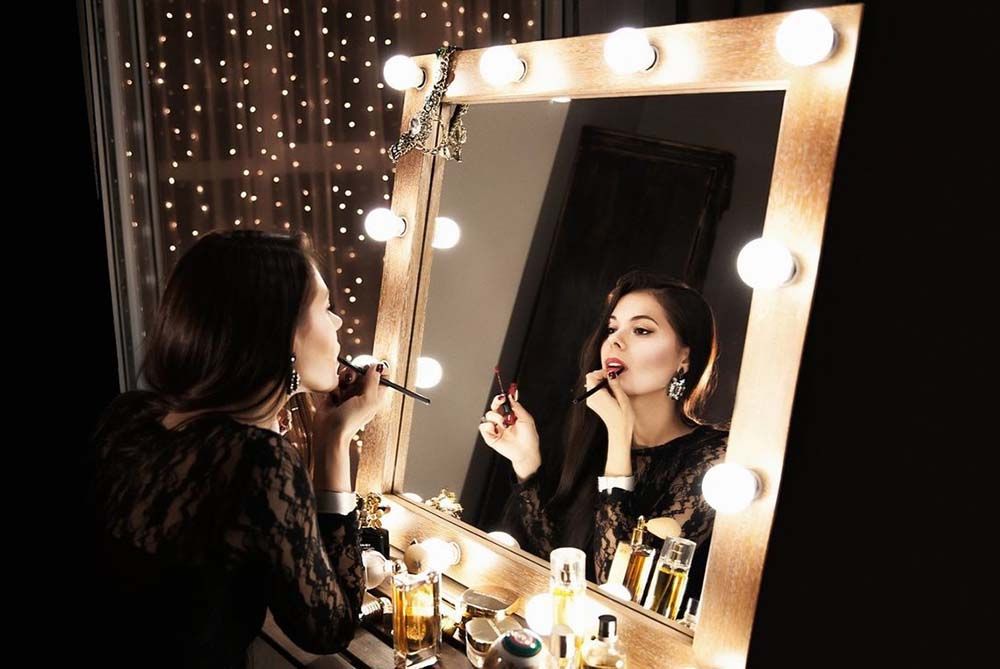
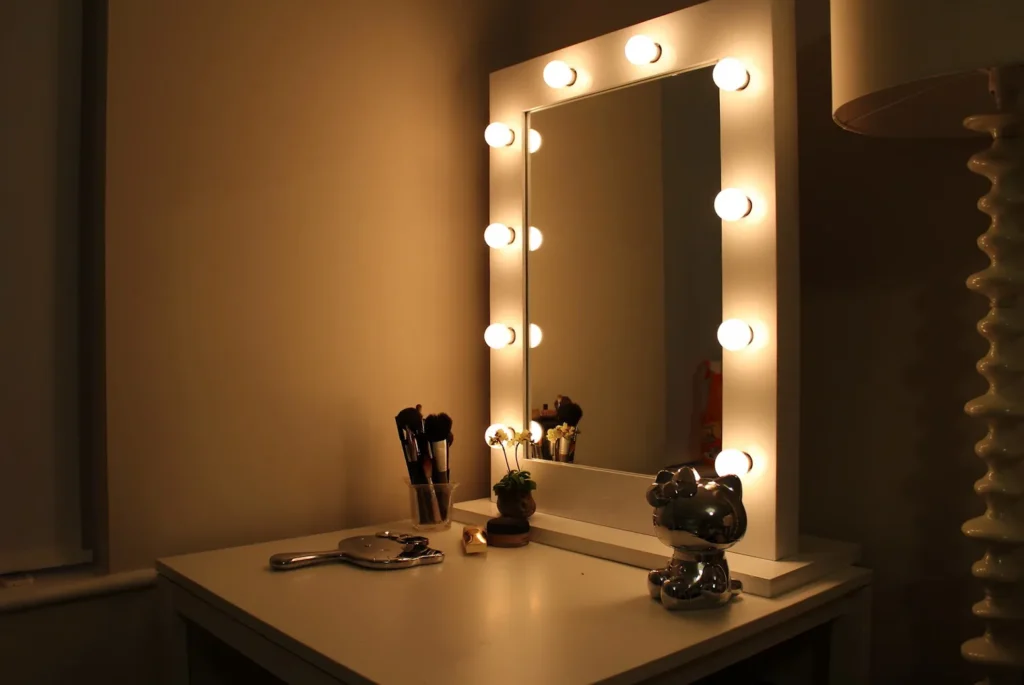
These mirrors lightened and enclosed can be offered in a single units which therefore helps simplify your makeup application process.
Advantages:
Often come with magnification options
- Some offer adjustable lighting settings
Cons:
- Can be pricey
- Limited lighting angles compared to separate lights
Features to Look For:
High CRI (Color Rendering Index) LEDs
Adjustable brightness and color temperature
Sturdy construction and stable base
The Color Rendering Index (CRI): Why You Should Care
The CRI index shows how well any given source of light, reveals the colors, as opposed to the natural sunlight.
Ideal CRI for Makeup: Although you can find lights of 80 CRI, you should still look for the ones with a 90 CRI and above.
Why It’s Important: A high CRI ensures you’re seeing true colors, crucial for matching foundation and creating cohesive looks.
Lighting Placement Techniques
The way you position your lights can dramatically affect your makeup application.
The Importance of Multi Directional Lighting
- Use multiple light sources to eliminate shadows.
- Combine overhead lighting with front facing lights for best results.
Avoiding Harsh Shadows: Tips and Tricks
- Use diffusers on strong lights to soften the illumination.
- Position lights at a 45 degree angle to your face to minimize shadows under the eyes and nose.
Creating a Flattering Glow: Placement Strategies
- Front Lighting: Place your main light source in front of you for even illumination.
- Side Lighting: Add softer lights on either side to highlight facial contours.
- Back Lighting: A gentle light behind you can add dimension and separate you from the background.
Makeup Lighting for Various Ethnicities
When it comes to makeup lighting, there is no generic lighting. For every makeup skin tone, a different lighting is required.
How Different Skin Tones Influence Lighting Needs
Light skin: Cooler color temperatures variation (4000K-5000K) help in preventing from overexposing.
Medium Skin: Balanced light (3500K-4500K) brings very effective energies to the approach.
Dark Skin: Warmer light (2700K-3500K) improves the richness and the dimension of the dark skin.
Color Temperature Adjustment according to Your Normal Skin Tone
Play around with color temperatures until you figure out which ones compliment you the most; several contemporary, if not all contemporary, LED devices allow to change color temperature almost instantly.
Lighting Setups of a Makeup Artist for Professional Use
Have you ever thought how those supper clean edits are made by the experts? We are going to show you the unseen images.
Insights into Internal Operation and Lighting Techniques That Are Used During the Makeup Process
In the professional studio, for example, a three point lighting technique is commonly used.
Key Light: the principal source of light placed at an angle of 45 degrees.
Fill Light: a less intense light which is placed behind the key light for the purpose of shadow filling.
Back Light: Provides more space to the subject used and facilitates the separation of the subject from objects that are behind, such as walls.
Carrying Equipment for Lighting When You Go for a Shoot Outside
For makeup artists on the go, these portable options are lifesavers:
- Fold up LED Panels: Lightweight and easy to set up anywhere.
- Battery Powered Ring Lights: Perfect for touch ups in any location.
- Clip On Selfie Lights: Small but mighty for last minute fixes.
DIY Lighting Hacks for Makeup Application
You don’t need a professional setup to achieve great lighting. Try these budget friendly hacks:
Budget Friendly Lighting Solutions
- White Christmas Lights: String them around your mirror for a soft, even glow.
- Daylight Bulbs: Replace regular bulbs in your bathroom or vanity with these.
- Portable Desk Lamp: Position it at face level for targeted lighting.
Improving Makeup Lighting by Recycling Everyday Objects
To make light more even on your face, use a white pillowcase or a white sheet to reflect light towards your face.
Keep a small mirror on your work desk to bounce the light directing it up to the face to reduce the under eye shadows.
Light diffuser acts to diffuse the light from a very harsh bulb, for example through a shower create there use
Lighting Shortcomings to Avoid
These are pitfalls that even professionals can get caught up in. Here’s what to avoid:
Overlooking the Impact of Surrounding Colors
- The Problem: Colored walls can cast a tint on your skin, affecting how you perceive your makeup.
- The Solution: Apply makeup near a white or neutral colored wall, or use a white backdrop.
Relying Solely on Overhead Lighting
- The Problem: Overhead lights create harsh shadows under the eyes, nose, and chin.
- The Solution: Supplement with front facing lights to balance the shadows.
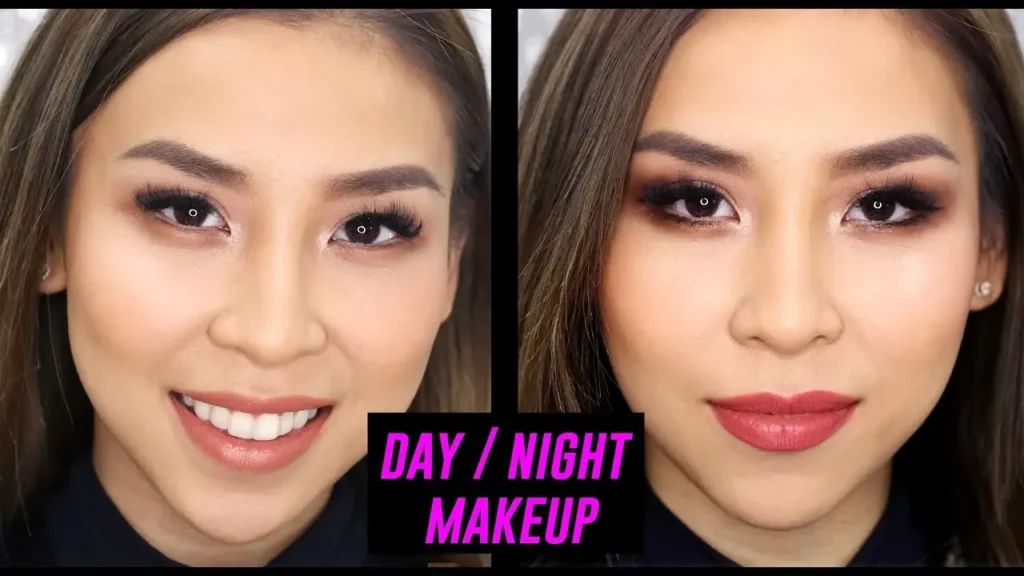
Ignoring the Difference Between Daytime and Nighttime Makeup Lighting
- The Problem: Makeup that looks great in soft evening light might appear too heavy in bright daylight.
- The Solution: Check your makeup in various lighting conditions before heading out.
 Tech Innovations in Makeup Lighting
The beauty industry is embracing technology to solve age old lighting problems.
Smart Mirrors with Adjustable Settings
These high tech mirrors offer:
- Customizable lighting scenarios (e.g., office, outdoors, evening)
- Skin analysis features
- Memory settings for your preferred lighting
Makeup Apps that Simulate Different Lighting Conditions
Apps like “YouCam Makeup” and “Perfect365” allow you to:
- Test how your makeup might look in various makeup lighting situations
- Experiment with different looks without applying actual makeup
- Share and get feedback on potential makeup choices
FAQs About Makeup Lighting
Q: Is it possible to apply makeup using a flashlight on the camera of my phone in an utter emergency? A: It may serve the purpose as a last minute resource, but it is not advisable. If used, position it 45 degrees away from the subject’s face to lessen the hard shadow caused upon makeup application.
Q: How Do I Applied Makeup So as To Avoid The Makeup Looking Cakey And It’s Especially With The Use Of Fluorescent Lights? A: These types of lights are especially very harsh, especially fluorescent ones. If there is so much as one area devoid of makeup, then that area should be filled up with a light reflective primer.
Q: What type of lighting would you suggest for someone performing a makeup tutorial on video? A: A ring light can be useful too as it provides great flattering even lighting.
Q: In a store, how can I make sure that the creamy smooth foundation that I am purchasing has the same tone as my skin? A: Well it depends, sometimes it is relatively unconducive. Instead of relying on store lights, always try and validate the foundations outside, with the proper environmental lights. Walk out or go near the target window if possible.
Q: Is there a professional lighting kit that can both be bought or rented, especially for doing makeup on a daily basis? A. Yes, I mean a professional pack might look great, but it is not intended for everyday use. Lange’s quality light up vanity or a professional ones.
Conclusion
Understanding makeup lighting is an important step to take when one wants to considerably structure her beauty routine.
In whatever kind of light be it natural, a professional studio or even DIY methods, if the right kind of light is used, one can as well elevate the makeup from better to best.
Keep in mind that the most effective lighting is the lighting that suits you. There is nothing wrong with experimenting with certain things until the right light has been achieved.
With the best light, there is no problem in knowing that even if the perfect makeup is applied, one’s confidence in the outward appearance of the make excuse for the face will be unaffected by the circumstances.
Ready to go, so it’s time to brighten the beauty regimen and let the inner perfection out!
 Tech Innovations in Makeup Lighting