Blush is one of the most transformative makeup products in your beauty routine. With just a few strokes, it can add warmth, life, and dimension to your face.
However, applying blush might not always feel intuitive, especially when trying to achieve the right look. From finding the perfect shade to mastering different application techniques, there’s a lot to know. But don’t worry, we’ve got you covered.
In this detailed guide, we’ll walk you through various ways to apply makeup blush, offering tips and techniques for every occasion and face shape.
The Types of Blush Products You Need to Know
Before diving into application techniques, it’s essential to understand the different types of blush available in the market.
Each formula has its own benefits and may be suited for different skin types, occasions, and finishes. Let’s break them down:
- Powder Blush:
Powder blushes are a classic favorite because they are easy to apply and blend. They’re ideal for people with oily skin since they absorb excess oil and leave a matte finish. They also come in a variety of textures and finishes, from matte to shimmer. - Cream Blush:
If you have dry skin or want a dewy, natural flush, cream blush is your best bet. It blends seamlessly into the skin and provides hydration, giving you a fresh, glowy finish. It’s great for those who prefer a more natural, soft blush. - Liquid Blush:
Liquid blushes are lightweight and often come with a more pigmented payoff. They can offer a long lasting, buildable flush of color that’s perfect for those with normal to oily skin. Liquid blushes typically provide a natural, skin like finish that’s ideal for day to day wear. - Stick Blush:
Stick blushes are a convenient option for on the go makeup application. These are easy to apply and work especially well for creamy textures. Stick blushes give a fresh, natural finish and can be built up for more intensity, which makes them perfect for travel.
Tip: The right formula can significantly affect how your blush applies and how long it lasts. Choose a formula that matches both your skin type and the finish you’re going for.
The Essential Tools for Blush Application
Once you’ve chosen your blush, the next step is figuring out which tool to use. Whether you use a brush, sponge, or your fingers, each tool can create a different finish and effect.
Let’s explore the most common tools:
- Blush Brush:
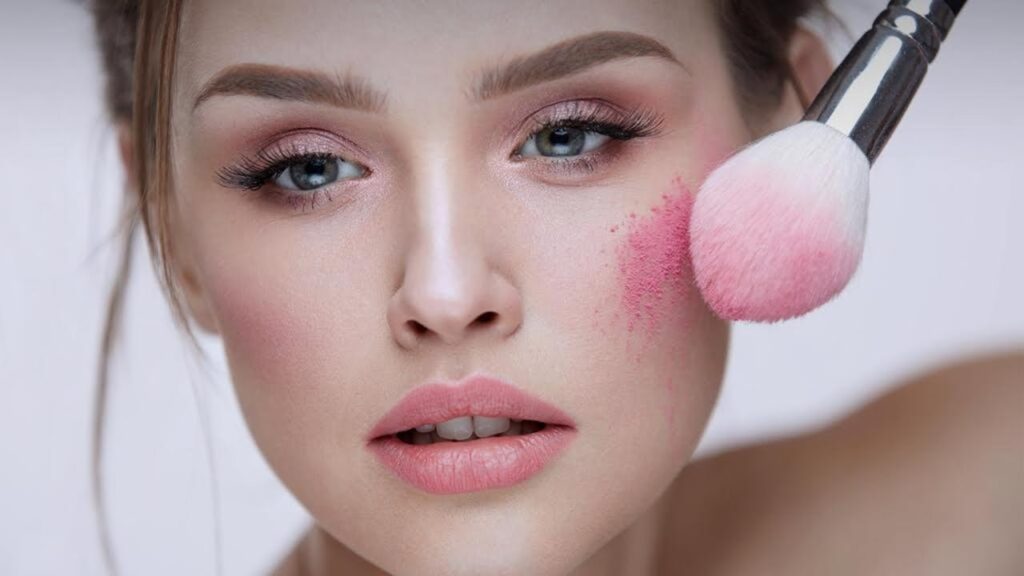
A high quality blush brush with soft bristles is essential for an even, natural finish. A round, fluffy brush is great for a light wash of color, while an angled blush brush offers precision for sculpting and contouring. - Beauty Sponge:
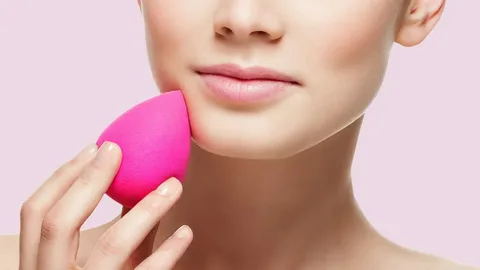
Beauty sponges work well with cream and liquid blush formulas. They help blend the product seamlessly into the skin, creating a natural, airbrushed finish. Just remember to use a damp sponge to prevent the blush from absorbing into the sponge itself. - Fingers:
Sometimes, using your fingers is the quickest and most effective way to apply cream or liquid blush. The warmth of your fingers helps the product blend smoothly, making it perfect for a natural, no makeup makeup look.
Different Application Techniques for Every Look
Now, let’s dive into the various techniques you can use to apply your blush. Depending on your face shape, makeup style, and desired effect, the way you apply your blush can change the entire vibe of your look.
Classic Apple of the Cheek Technique
The apple of the cheek technique is the most straightforward and classic way to apply blush.
Simply smile and apply the blush directly to the apples of your cheeks, blending outward towards your temples. This technique creates a youthful and fresh look, ideal for everyday makeup.
- Best for: Round faces or when you want a natural, fresh faced look.
- Pro tip: Use circular motions for a softer, diffused look.
The Lifting Method: Contour and Blush Combo
This technique combines blush and contouring for a more sculpted and lifted appearance. Apply blush slightly higher on your cheekbones and blend it upward towards your temples, creating the illusion of a more lifted face.
You can follow this up with contour under your cheekbones to define the face further.
- Best for: Faces that want more definition and to add a lifted effect.
- Pro tip: Pair a neutral toned blush with a matte contour to avoid clashing.
The Sunkissed Look: Blush Where the Sun Hits
If you’ve ever wanted a sunkissed glow without spending hours in the sun, this technique is for you.
Apply blush not only to your cheeks but also to your temples, nose, and chin. This mimics the natural way the sun kisses your face, giving you a healthy, warm look.
- Best for: A natural, sunkissed glow.
- Pro tip: Peachy and coral blushes are best for this technique to emphasize warmth.
“Drunk Blush” Technique
The “drunk blush” technique has gained popularity for its playful, flushed look. To achieve this, apply blush across the apples of your cheeks, over your nose, and a little on your forehead.
The idea is to look like you’ve just had a few too many glasses of wine but in the best way possible!
- Best for: beautiful, playful vibes.
- Pro tip: Use a soft, buildable cream blush to avoid harsh lines.
Blush for Monolid and Hooded Eyes
If you have monolid or hooded eyes, applying blush correctly can help balance your face and draw attention to your cheekbones rather than your eyes.
Apply blush a bit higher on the cheekbones, extending toward the temples. This will create the illusion of lifted, more prominent eyes.
- Best for: Monolid or hooded eyes, for a lifted effect.
- Pro tip: Matte blushes work best here, as they won’t draw attention away from the eyes.
Under the Foundation Blush: For a Natural Flush
For those who want a subtle, dewy flush of color, applying blush under your foundation is a game changer.
Apply a liquid or cream blush before you put on foundation, and the result will be a soft, lit from within glow.
- Best for: A natural, soft flush.
- Pro tip: Blend the blush well to avoid uneven color, as your foundation will soften it further.
Layering Blush for Depth
Want your blush to last longer and look more dimensional? Layering cream blush and powder blush is the way to go.
Apply a cream blush first, then top it with a powder blush to set the color and add depth.
- Best for: Long lasting blush with extra depth.
- Pro tip: Choose blush shades that complement each other for the best effect.
Blush Placement Based on Your Face Shape
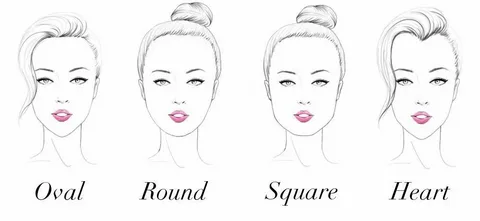
Just like your contour placement, the way you apply blush can vary depending on your face shape. Here’s a breakdown of blush placement for different face shapes:
- Round Faces: Apply blush slightly above the apples of your cheeks and blend it diagonally towards your temples. This will elongate the face and create definition.
- Oval Faces: Apply blush on the apples of your cheeks and blend outward towards your temples for a soft, balanced look.
- Square Faces: Focus blush on the apples of your cheeks and blend upward towards the ears. This will soften the sharp angles of your face.
- Heart Shaped Faces: Apply blush lower on the cheeks and blend it towards your chin. This helps balance out the narrowness of your chin.
How to Choose the Right Blush Color for Your Skin Tone
Blush comes in a wide range of shades and formulas, but choosing the right one can make all the difference.
Here’s how to choose the perfect blush shade for your skin tone:
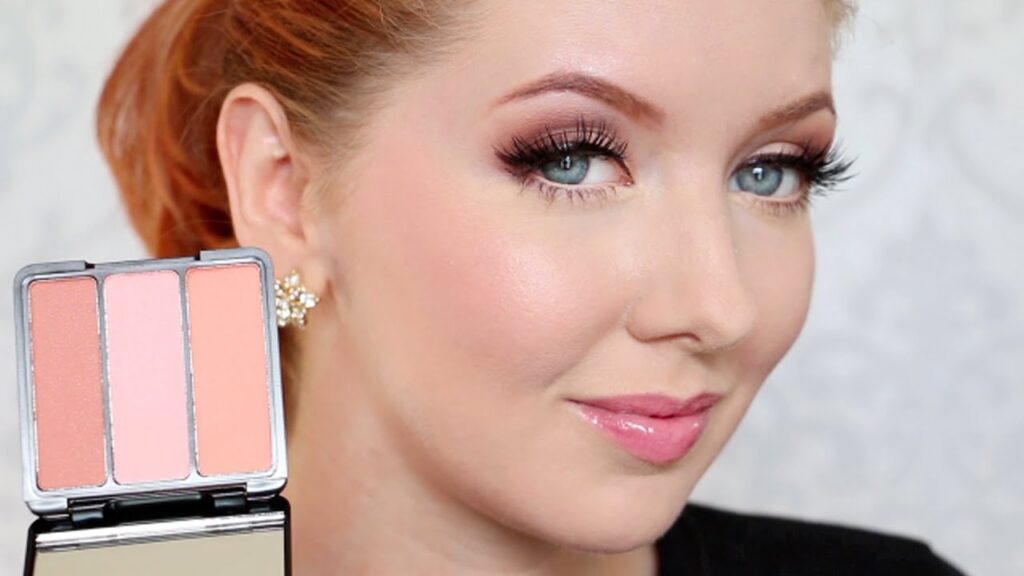
- Fair Skin: Soft pinks, peaches, and light corals look great on fair skin tones.
- Medium Skin: Rosy pinks, soft mauves, and warm peach tones work best.
- Dark Skin: Rich reds, oranges, and deep berry tones complement darker skin tones beautifully.
Blush for Different Seasons
You can also match your blush to the season to enhance your overall look. For example, during the summer, go for corals and peachy tones for a fresh, sun kissed look. In winter, you might prefer deeper, rosy shades to create a warm, flushed effect.
Blush is a versatile, easy to use product that can completely transform your look. Whether you’re going for a natural, sunkissed glow or a bold, contoured flush, knowing how to apply blush the right way makes all the difference.
Experiment with these different techniques, find the right blush for your skin tone and type, and you’ll soon have the perfect blush look for any occasion.
Frequently Asked Questions (FAQs)
- Best blush formula for oily skin?
- Powder blush is typically the best for oily skin, as it helps absorb excess oil and provides a matte finish that lasts throughout the day.
- Can I use blush as eyeshadow?
- Yes! Blush can double as eyeshadow. Simply use a soft, fluffy brush to apply a complementary blush shade to your eyelids for a monochromatic makeup look.
- Should I use a shimmery blush?
- Shimmery blush can add a healthy glow to the skin, but it’s best for those with dry or dull skin. If you have oily skin, opt for a matte blush to avoid excess shine.
- How do I make my blush last longer?
- Set your blush with a matching powder blush or a setting spray to help it last throughout the day.
- Can I mix cream and powder blush?
- Absolutely! Layering a cream blush under a powder blush is a great way to add depth and increase longevity. Just make sure to blend them well for a seamless finish.
Conclusion: Achieving the Perfect Blush Look
In conclusion, blush is more than just a makeup product; it’s an essential tool that can transform your entire look. Whether you’re after a natural glow, a sunkissed flush, or a bold, contoured appearance, knowing how to apply blush correctly makes all the difference.
By selecting the right blush formula for your skin type and choosing the perfect color for your skin tone, you can ensure that your blush not only enhances your features but also lasts all day.
The application technique you choose should complement your face shape, your desired finish, and the look you’re aiming for.
From the classic apple of the cheek technique to the more dramatic drunk blush method, there are endless ways to experiment and find what works best for you.
Layering blush for added depth, or using the right tools, like a fluffy blush brush or beauty sponge, will ensure your makeup looks flawless and seamless.
By incorporating these expert tips, you’ll master the art of applying blush, creating a beautiful and balanced appearance that enhances your natural beauty.
Remember, makeup is all about having fun and expressing yourself, so feel free to explore and experiment with different techniques until you find the perfect blush look that makes you feel confident and radiant!
Key Takeaways:
- Choose the right blush formula based on your skin type.
- Layering blush can add dimension and long lasting color.
- Experiment with different application techniques to suit your face shape and desired look.
- Selecting the right blush color for your skin tone is crucial for a natural, flattering effect.
- The right tools and techniques can help you achieve a flawless blush application every time.
By following these tips, you’re ready to add that perfect flush to your face, no matter the occasion.
This guide has provided everything you need to know about blush from choosing the right formula to mastering application techniques. No matter your skill level or face shape, these tips will help you achieve the perfect flush every time!
